User Management
Energy Logserver SIEM Platform
Energy Logserver SIEM provides essential user management capabilities to support security operations teams with appropriate access controls and user lifecycle management.
Note: Advanced authentication methods (LDAP, SAML, RADIUS) are covered in Authentication and Directory Integration. This chapter focuses on practical user lifecycle and role management.
Table of Contents
User Lifecycle Management
User Creation
Standard User Creation:
Navigate to ELS Console → Management → Config
Required fields:
Username: Unique identifier (3-50 characters)
Password: User password
Email: Valid email for notifications
Role: Roles that user will be assigned to
User Modification
Profile Updates:
Users can modify their password
Admin can modify password, email, GUI Access, Roles, Default Role
Role-Based Access Control
Predefined Roles
The system provides the following predefined roles:
admin: Complete system administration with full access to all features and configurations
alert: Access to alert management and configuration
e-doc: Electronic document management capabilities
intelligence: Threat intelligence and analytics features
license: License management and monitoring
probe: Network Probe and data pipeline configuration
report: Report generation and management
security: Security operations and monitoring
security-tenant: Multi-tenancy security management
Custom Role Creation
Navigate to ELS Console → Management → Config → User Management → Create Role
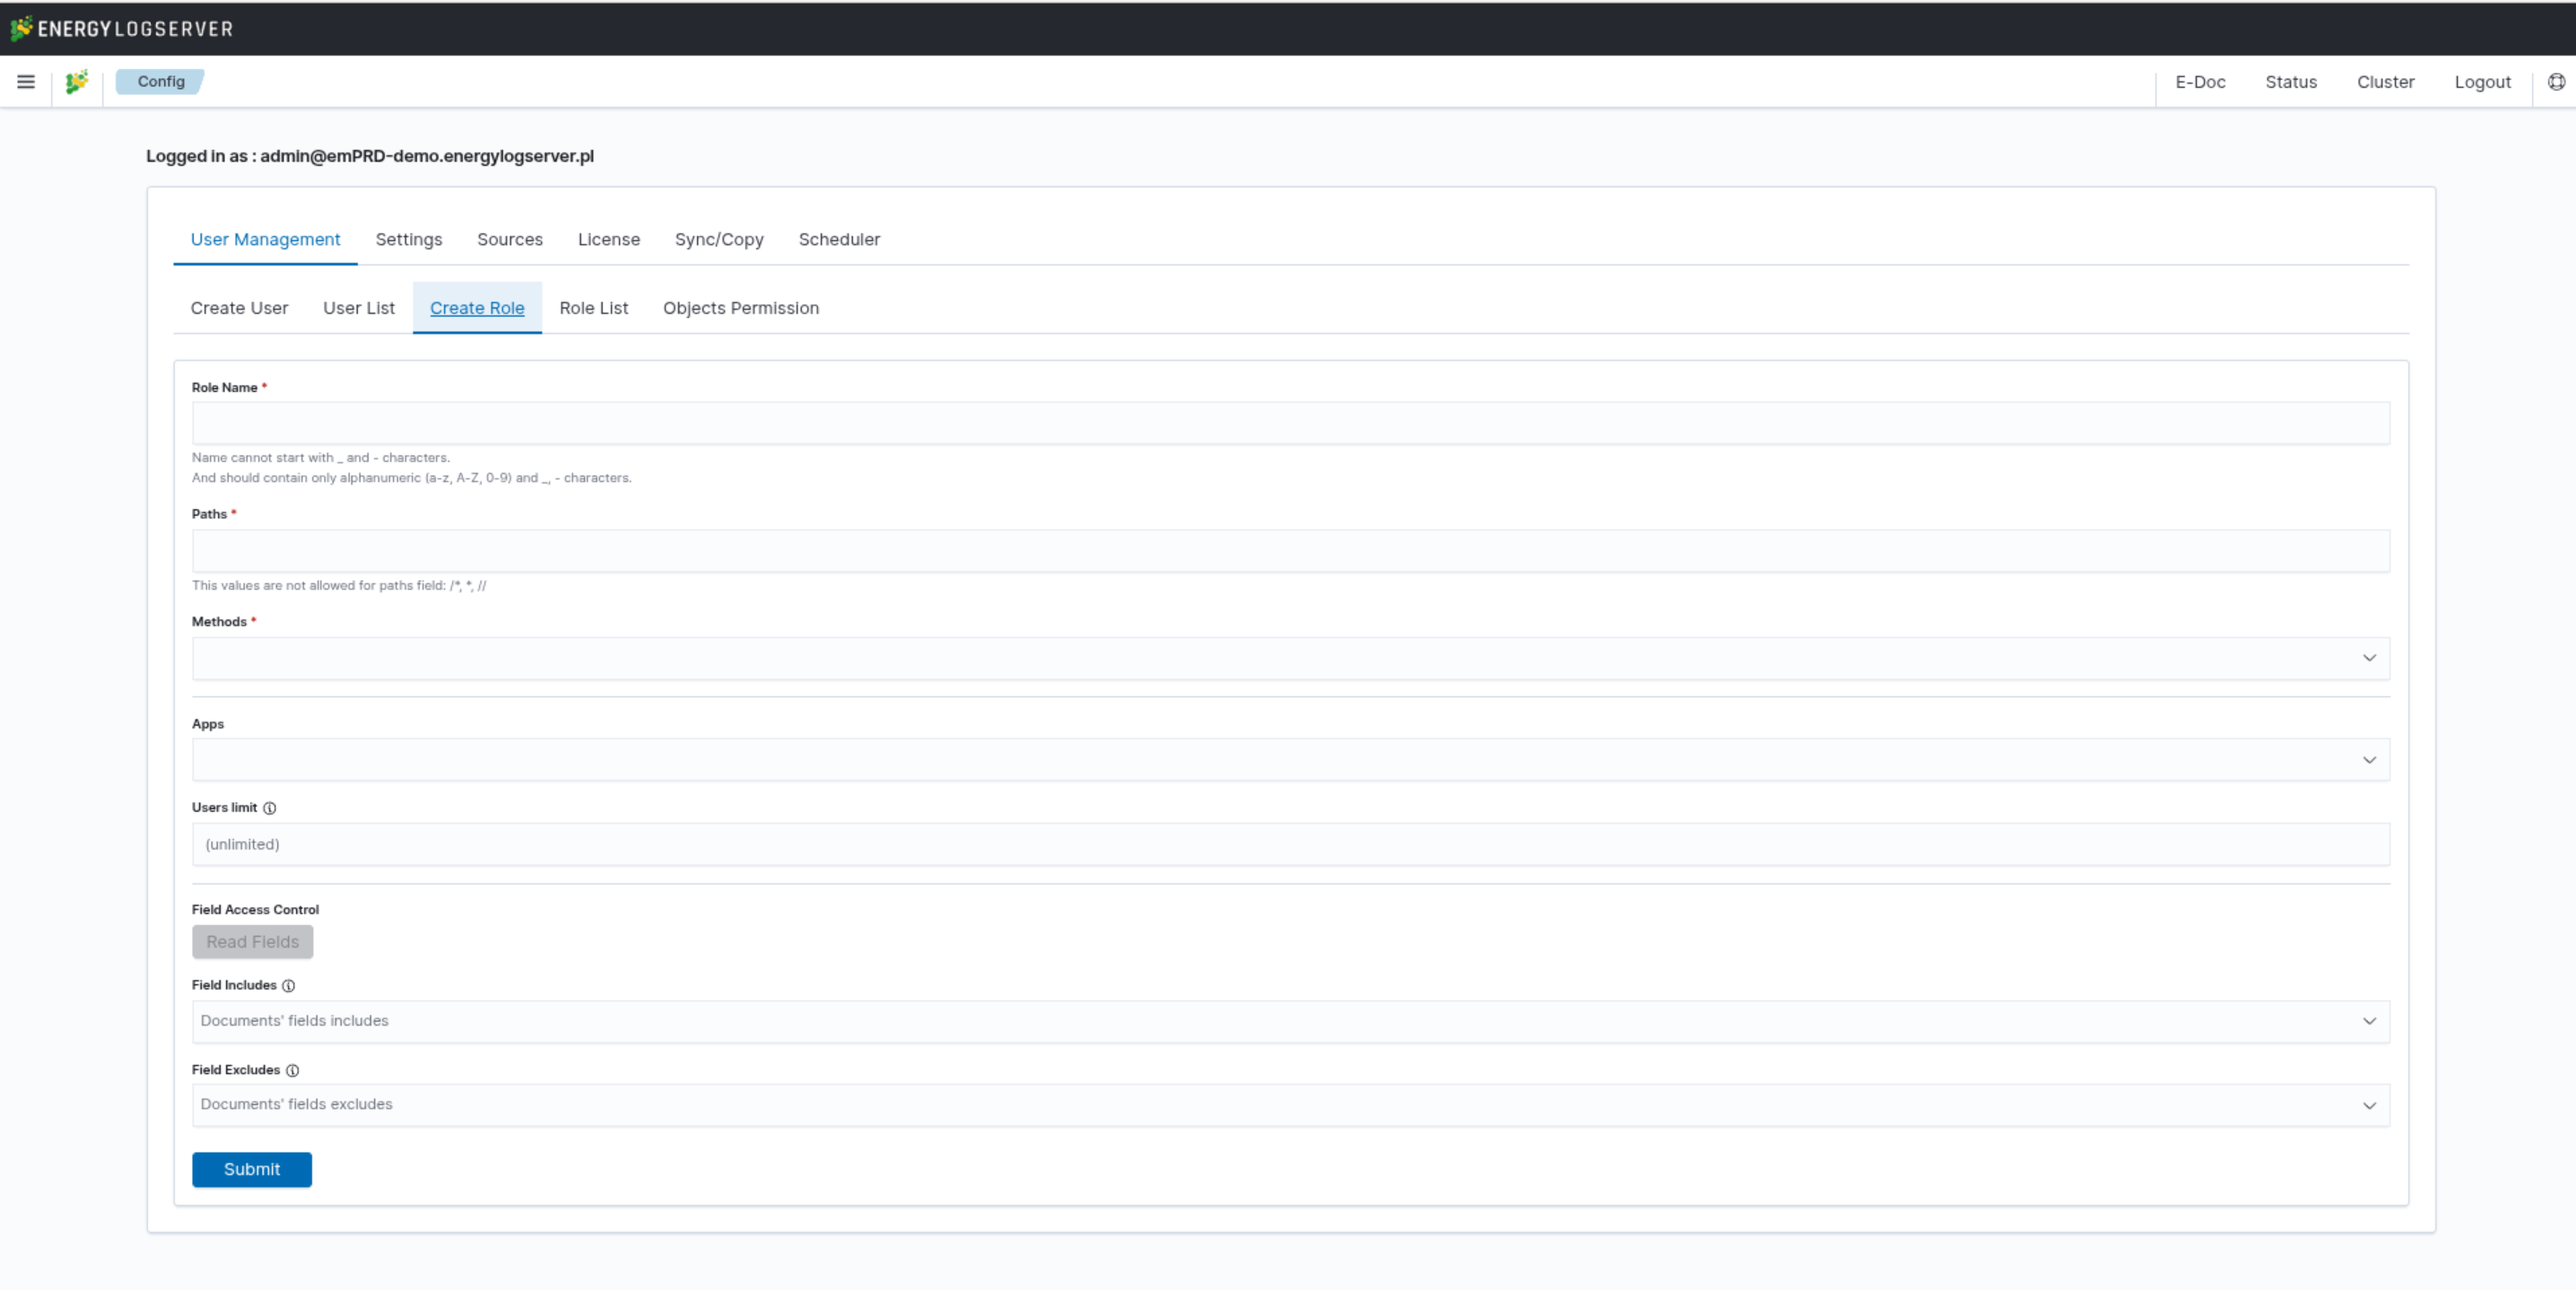
Role Parameters:
Role Name* — unique identifier for the role (required). Name cannot start with
_or-characters and should contain only alphanumeric characters (a-z, A-Z, 0-9) and_-characters.Paths* — index patterns that the role can access (required). You can provide one or more index patterns separated by commas. Values
/*,*, and//are not allowed.Methods* — HTTP methods allowed for this role (required). Available methods: GET, POST, PUT, DELETE, HEAD.
Apps — applications/modules accessible by this role.
Users limit — maximum number of users that can be assigned to this role. Defaults to unlimited. Enter a number greater than 0 to set a specific limit.
Field Access Control — click the Read Fields button to load available fields from the selected index pattern for use in Field Includes/Excludes.
Field Includes — specific fields that will be visible to users with this role.
Field Excludes — fields that will be hidden from users with this role.
Click Submit to create the role. The new role will appear in the Role List tab.
Field Level Security
Field level security allows you to restrict access to specific fields in documents for a user role. For example, users can only view specific fields in the Discover module, while other fields will be inaccessible.
Configuration Steps:
Add the index pattern to the
Field IncludesorField Excludesparameters when creating or editing a role:Field Includes: Only specified fields will be visible to the user
Field Excludes: Specified fields will be hidden from the user
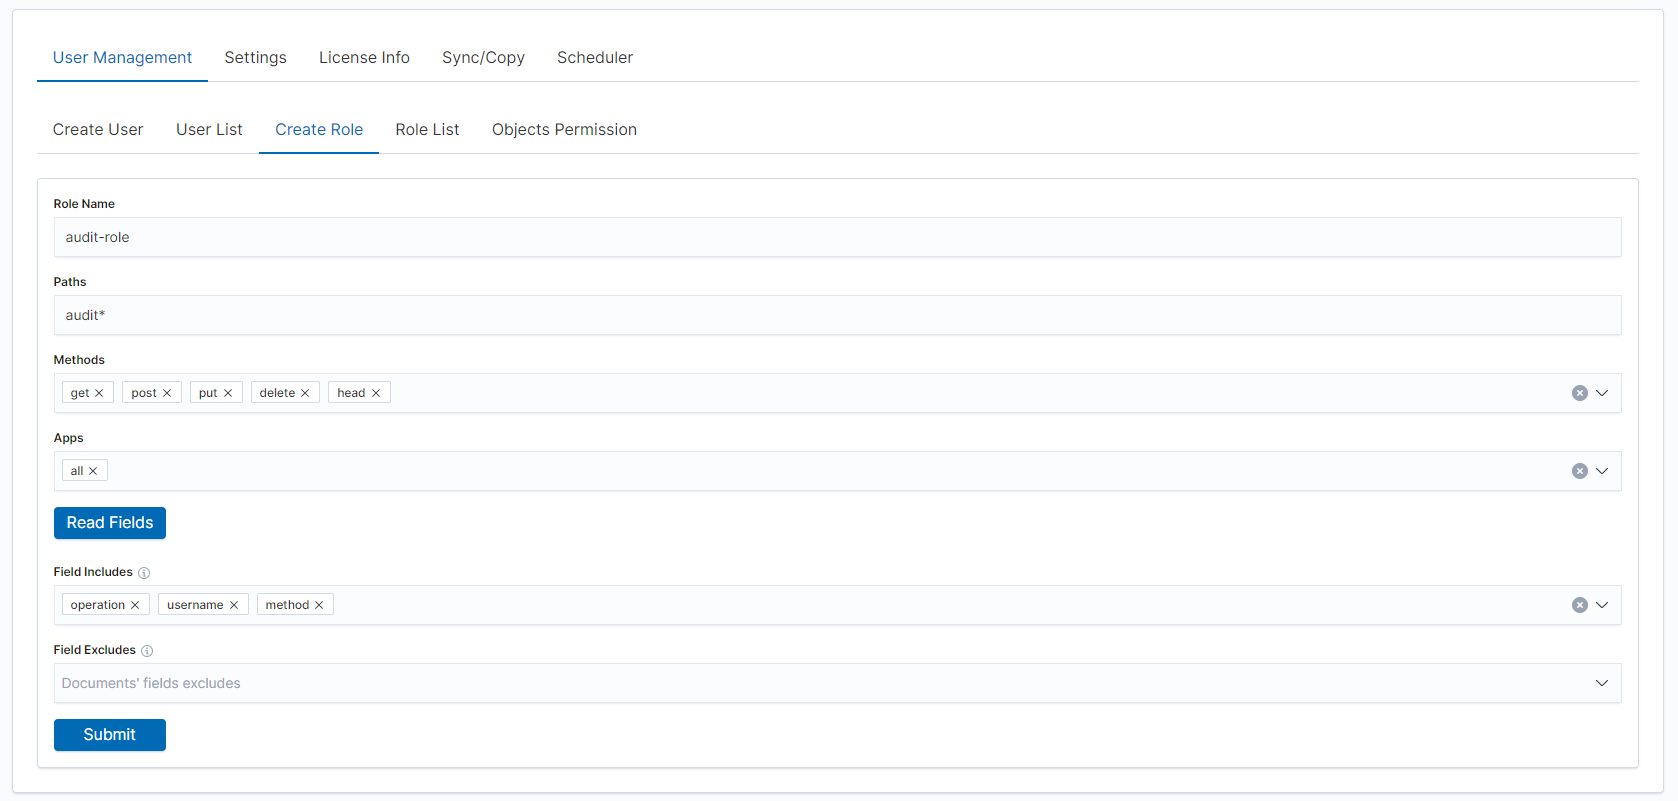
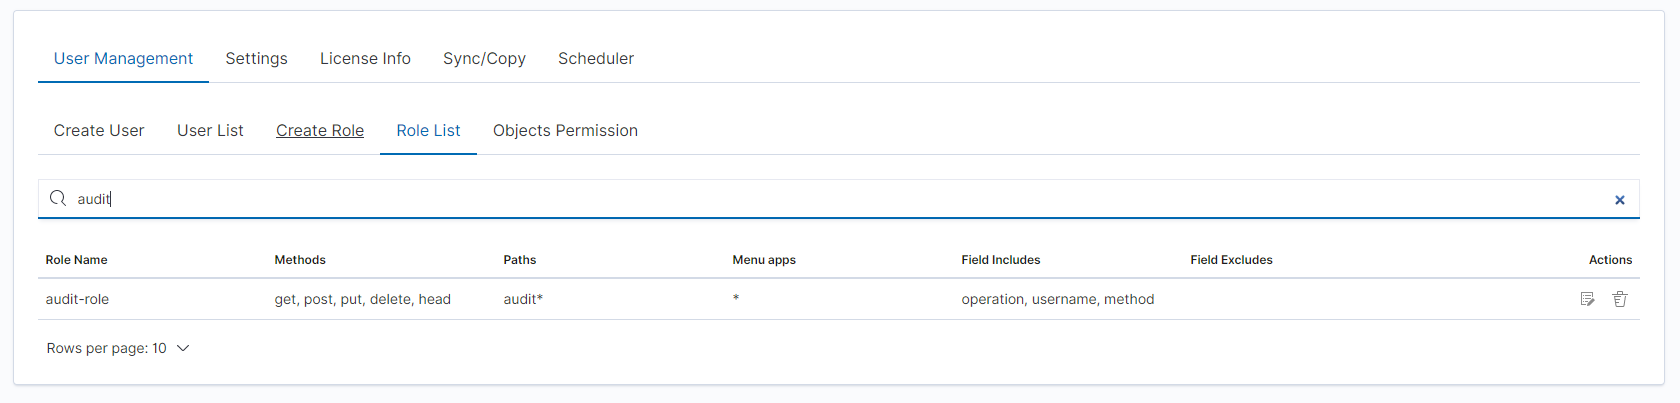
The new role will appear in the Role List tab:
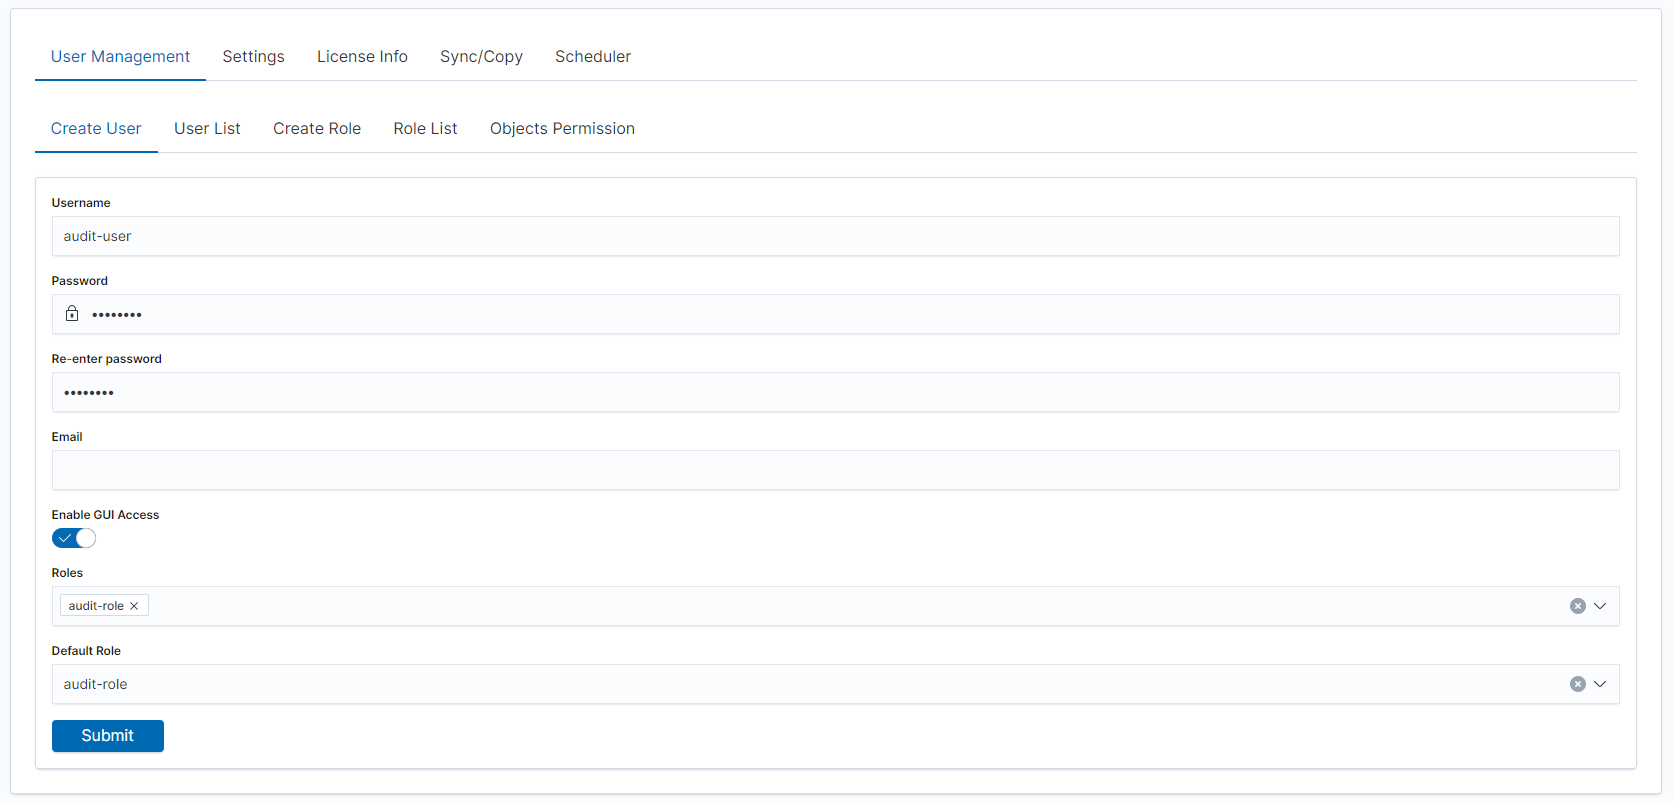
Assign users to the new role:
When users log in with this role, they will only see the permitted fields in the Discover module:
Users Limit for Role
This feature allows administrators to define the maximum number of users that can be assigned to a specific role. Once the limit is reached, no additional users can be added to that role until existing assignments are removed or the limit is increased.
Purpose:
Role user limits help organizations maintain compliance with licensing requirements and enforce security policies by controlling role assignments based on organizational needs.
Configuration:
When creating or editing a role under Management → Config → User Management, you can specify the Users limit parameter:
Leave the field empty for unlimited users
Enter a number greater than 0 to set a specific limit
Behavior:
When the user limit is reached, administrators cannot assign additional users to that role
For non-local users (such as LDAP users) with roles assigned dynamically, if a login attempt would exceed the role’s user limit, the login will fail
A clear error message will be displayed on the login screen indicating that the role limit has been reached
System users are not counted toward role limits to ensure system functionality is not affected by administrative limits