Integrations - Overview
The Integrations plugin provides a unified catalog of vendor and protocol integrations that can be deployed into Energy Logserver from the GUI. Each integration bundles the components required to ingest, visualize, and alert on data from a specific source: pipelines for the Network Probe, Discover dashboards, alert rules, and (for some integrations) downloadable collector binaries.
The plugin requires a license with the siem-plan add-on enabled.
Catalog Layout
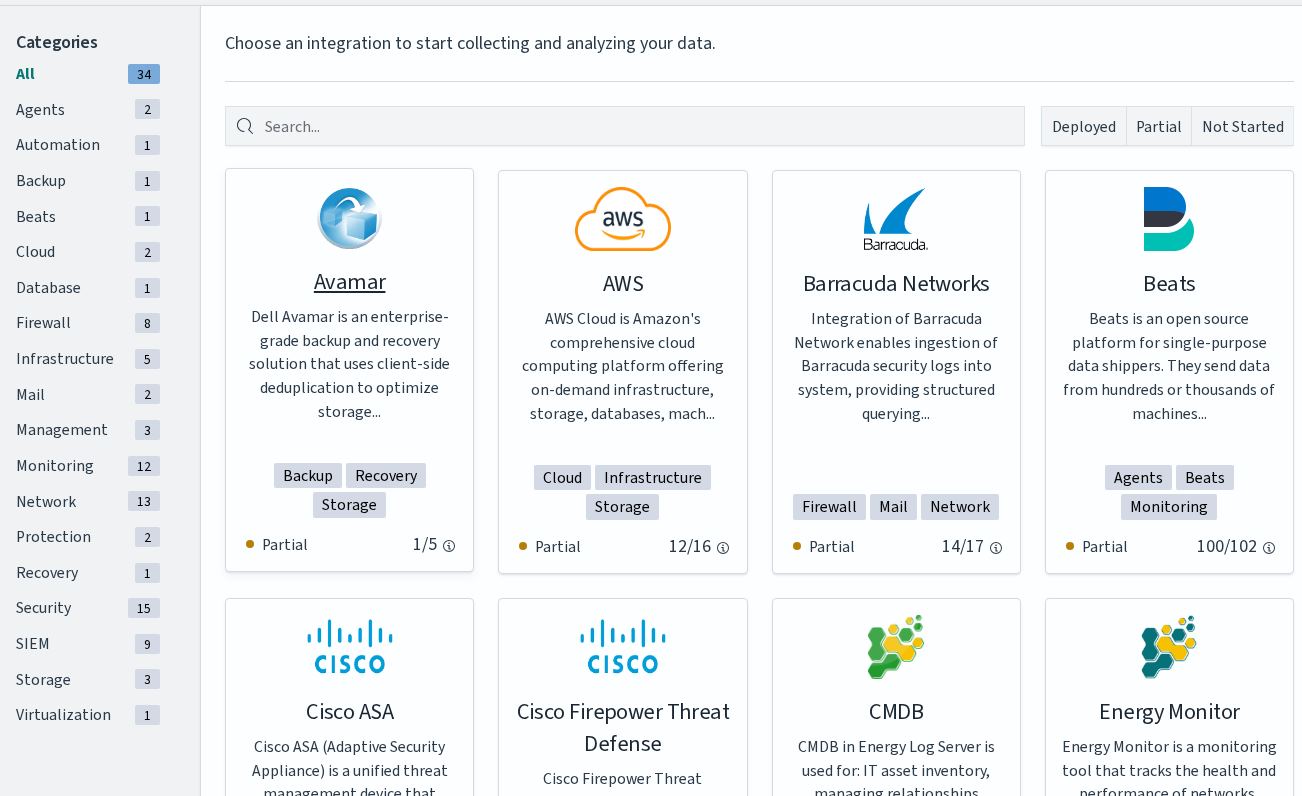
Open the plugin from the sidebar under Tools → Integrations. The catalog page shows:
Area |
Purpose |
|---|---|
Categories (left panel) |
Filter the catalog by integration type: |
Search |
Filter the catalog by integration name. |
Status filters |
Restrict the visible cards to those that are Deployed (all components installed), Partial (some components installed or active), or Not Started (nothing installed). |
Integration cards |
One card per integration. Each card shows the icon, name, short description, the categories it belongs to, and the current deployment status. The status counter (for example, Partial 14/17) indicates how many of the integration’s components are currently installed. |
The available integrations are read directly from the product and refresh with each release. Treat the catalog itself as the authoritative list. This chapter does not duplicate the integration names.
Installation Modes
Each integration can be installed in one of two modes, exposed as buttons on the integration’s wizard page:
One Click installs every component of the integration in a single action. Use this mode for the default deployment.
Advanced opens a step-by-step wizard that lets you select pipelines, dashboards, alert rules, and (when applicable) agents to install or skip individually.
The wizard always exposes Pipelines, Dashboards, and Alerts steps. Some integrations add a fourth Agents step that lets you download a pre-configured collector binary for the integration (for example, Beats).
The detailed step-by-step procedure for both modes is described in Installation Process.
Note
The Agents step in the Integrations wizard refers to collector binaries shipped with the selected integration, such as Beats agents delivered with a pre-generated configuration. It is not related to the Agents module (MasterAgent) described in Agents.
Manual Configuration
A small set of integrations (vulnerability scanners such as Tenable.sc and QualysGuard) can also be configured manually by editing the Network Probe pipeline files directly. This route fits environments without GUI access and scripted deployments. See the Manual configuration section in Installation Process.